VCPKG for OpenCV Cmake project - Video tutorial
Video tutorial for the VCPKG package manager will teach you how to set up Cmake project with OpenCV 4 installed by VCPKG. The first vide...


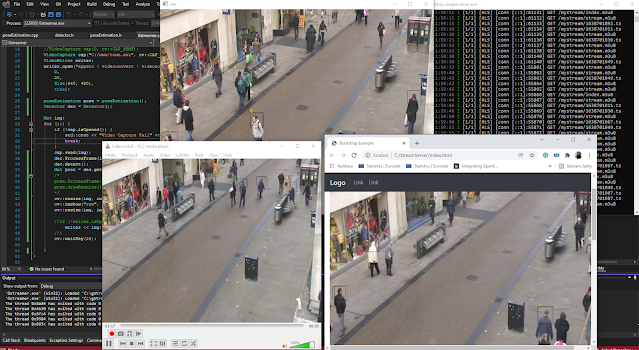
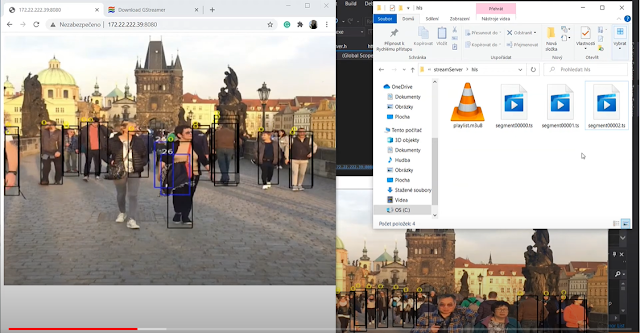
Video streaming Tutorial of sending processed Opencv video to NGINX and distributing video from NGINX (broadcast) by HLS stream for a wider ...
Video tutorial for the VCPKG package manager will teach you how to set up Cmake project with OpenCV 4 installed by VCPKG. The first vide...

VCPKG for Opencv installation for integration with Visual Studio The first video of the VCPKG series: https://www.funvisiontutorials.com/20...

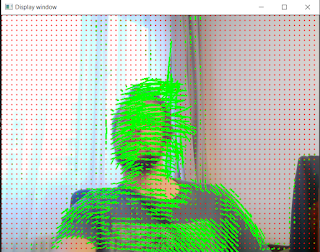
Here are my three Opencv installations by VCPKG (Cmake) and productivity tips for 2024. Opencv is a great library used in many machine learn...

This is the second chapter of the series about the VCPKG package manager focus on CMAKE integration. The first part here was about the ins...

Let’s make our life as Opencv C++ developers easier with the VCPKG package manager. VCPKG is capable of building libraries from source, on d...

This tutorial demonstrates how to use OpenCV and C++ to detect faces in an image and replace them with a mask. By following these easy ste...

In this article, I will show you how to find a template image in a bigger source image using OpenCV C++. This is a useful technique for obj...